
Please select the program to install:
QR Customizer Pro QR Customizer Pro Statistics
Step by Step Installation QR Customizer Pro
After download run the file setupQRCustomizerPro.exe.
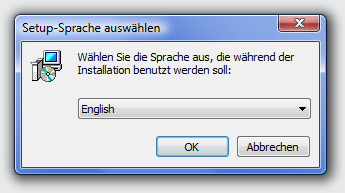
Step 1:
Choose the desired language and click OK
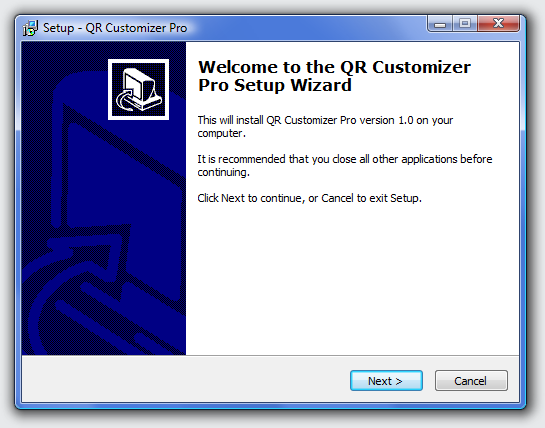
Step 2:
Click Next >
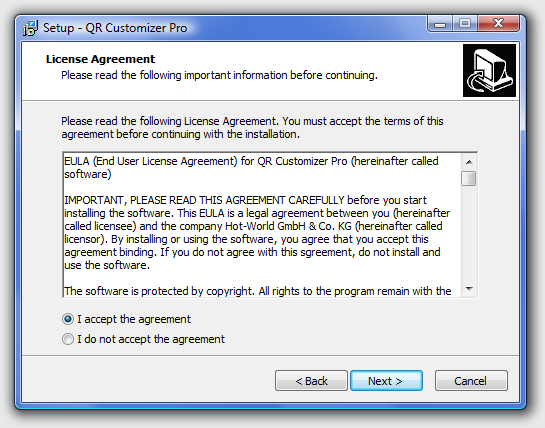
Step 3:
Accept the License Agreement and click Next >
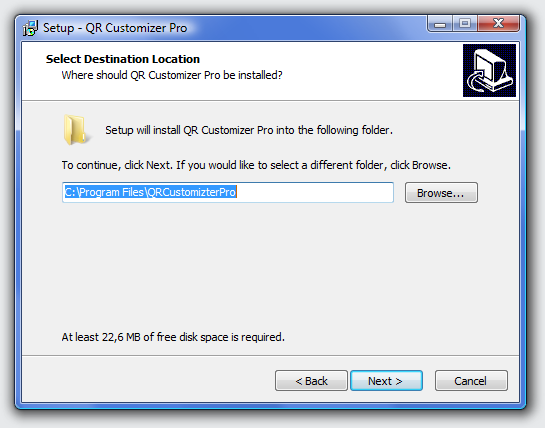
Step 4:
Choose the installation folder and click Next >
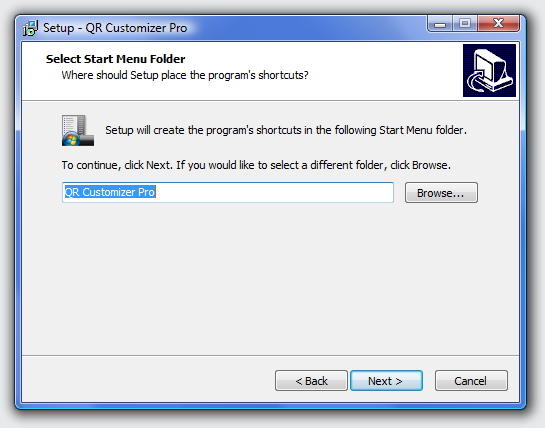
Step 5:
Select the Start Menu folder and click Next >
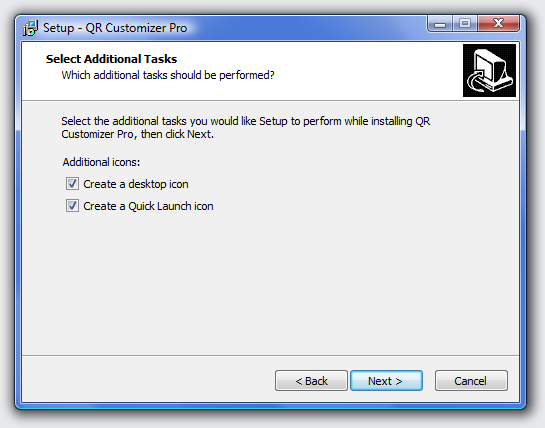
Step 6:
Select if you want a desktop icon and a Quick Launch icon and then click Next >
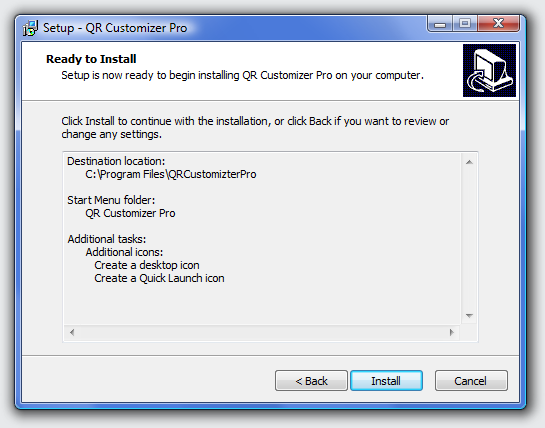
Step 7:
Confirm the settings by clicking on Install
Step 8:
Click Finish. If the box Launch QR Customizer Pro is checked, the program will start automatically.

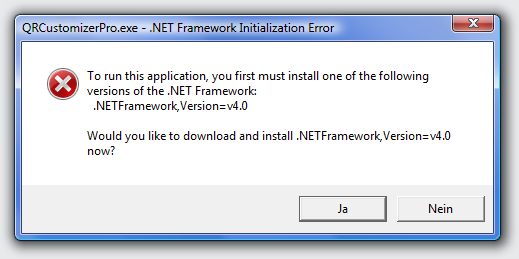
Step 9:
If Microsoft .NET 4 Framework is not installed, the installation program will be offered on the first program start. Click on Yes, you are directed to the Microsoft website to install it for free. Only after that QR Customizer Pro will work.
Step by Step Installation QR Customizer Pro Statistics
Required for installation:
- At least 2 MB of web space (Linux, MacOS, Windows, …)
- PHP 5.3 or higher
- MySQL database
Upload the program files to your server. Upload the file qrcps.zip and unzip it on your server (command: unzip qrcps.zip) or upload the already extracted files directly into the desired folder. When extracting the file qrcps.zip all files are copied in the folder qrcps.
Make sure that the directories and files can be read by the Web server. If not, assign the appropriate rights (command: chmod 777 ).
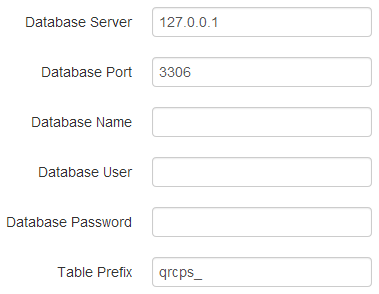
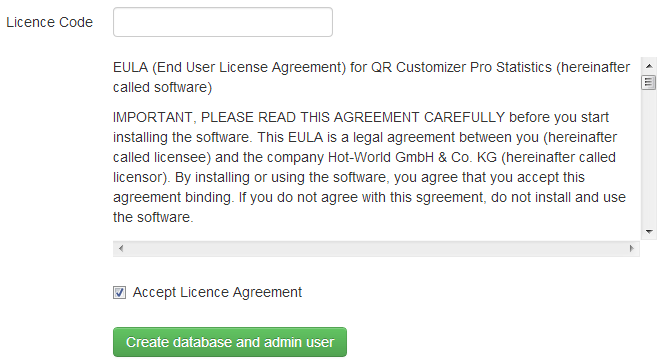
Then call in the browser the index.php file in the installation folder. When you first call the page, settings appear to put the system into operation. Here you must specify the database to use as well as the required access data, create an administrator account, enter the license key and accept the license terms. Once all data has been correctly entered, click the button Create database and admin user. The program now sets up the databases and completes the installation. Then you reach the regular login page at index.php.
Step 1:
Enter database data
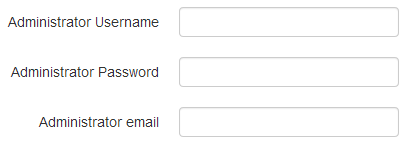
Step 2:
Enter administrator data
Step 3:
Enter license code and accept license agreement
After the first login, go to the setup and complete the settings and mail data.
